Yendif Video Share can play an advertisement before or after your videos. You can either sell that space to an ad network and let them fill it, or run your own clips — promoting your products, your sponsors or your own content.
Advertising is a premium feature. Without a license key the whole advertising system stays switched off, whatever the settings say. Add your key under Options → Licensing first.
What you will build
An advertisement that plays before your video, with a countdown and a skip button, and impression and click figures you can check in the admin.
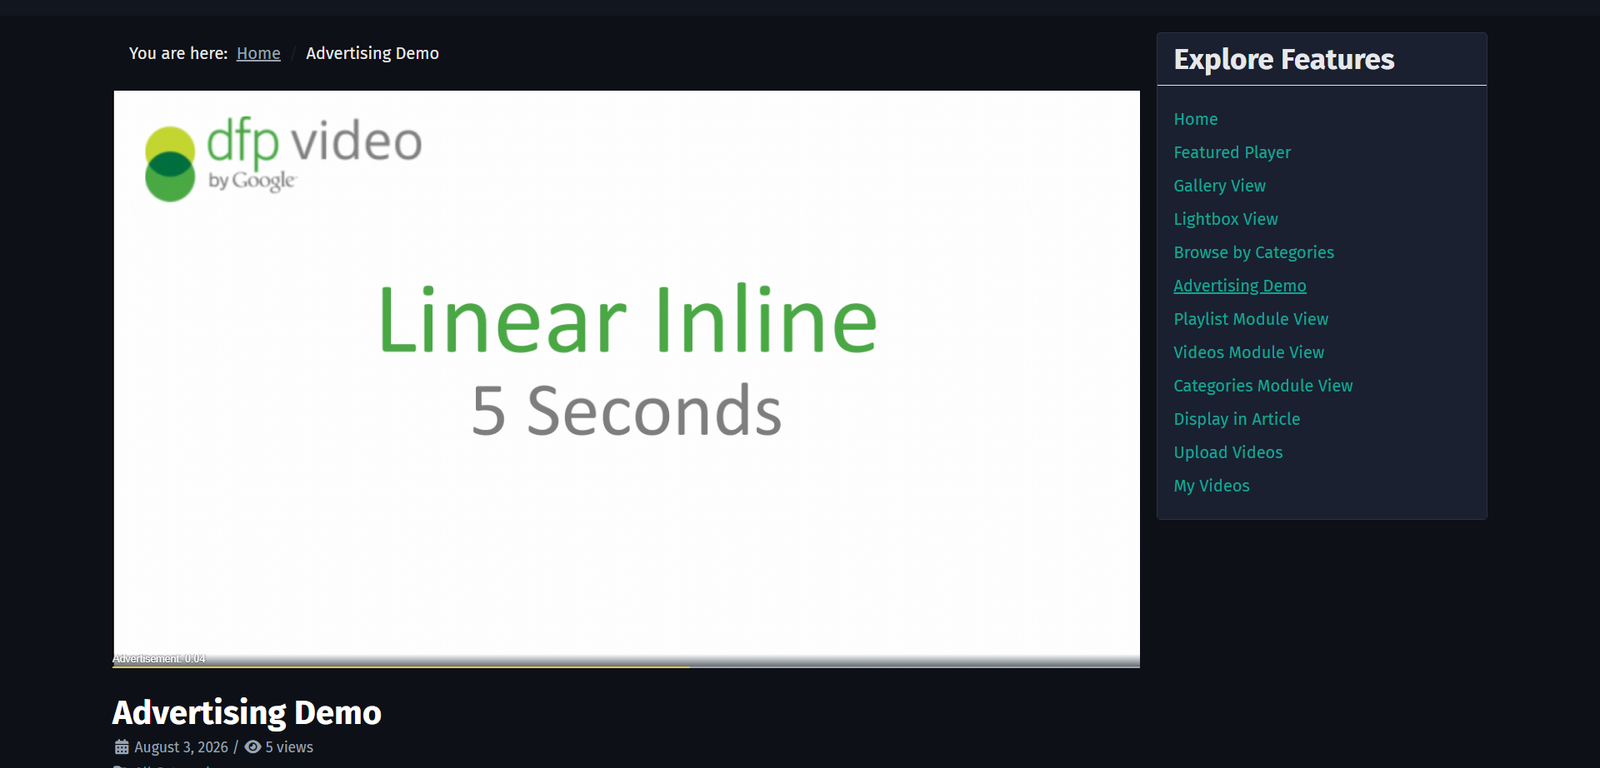
Two ways to run ads — pick one
These are separate systems and they do not mix. Decide which you want before you change any settings.
VAST/VPAID — ads from a network
- An ad network supplies the ads, such as Google Ad Manager.
- The network pays you, per impression or click.
- You need an account with a network and an ad tag URL.
- Setup is pasting one URL.
- Reporting lives in the network’s dashboard.
- Best for earning revenue from traffic you already have.
Custom Ads — your own clips
- You supply the ads.
- Your sponsors pay you, however you agree between you.
- You need an MP4 clip and a link.
- Setup is uploading each clip and setting the rules.
- Reporting is impression and click counts, in Joomla.
- Best for promoting your own products, or a named sponsor.
The setting that chooses between them is Source Type, under Options → Player → Advertisements. It is set to VAST/VPAID out of the box.
Option 1: Ads from an ad network
If you have an account with an ad network, they give you an ad tag URL. Everything else is handled between the network and the player.
1. Select Components → Yendif Video Share → Videos, click Options, then open Player → Advertisements.
2. Leave Source Type set to VAST/VPAID.
3. Paste your network’s tag into Ad Tag URL.
4. Click Save & Close.
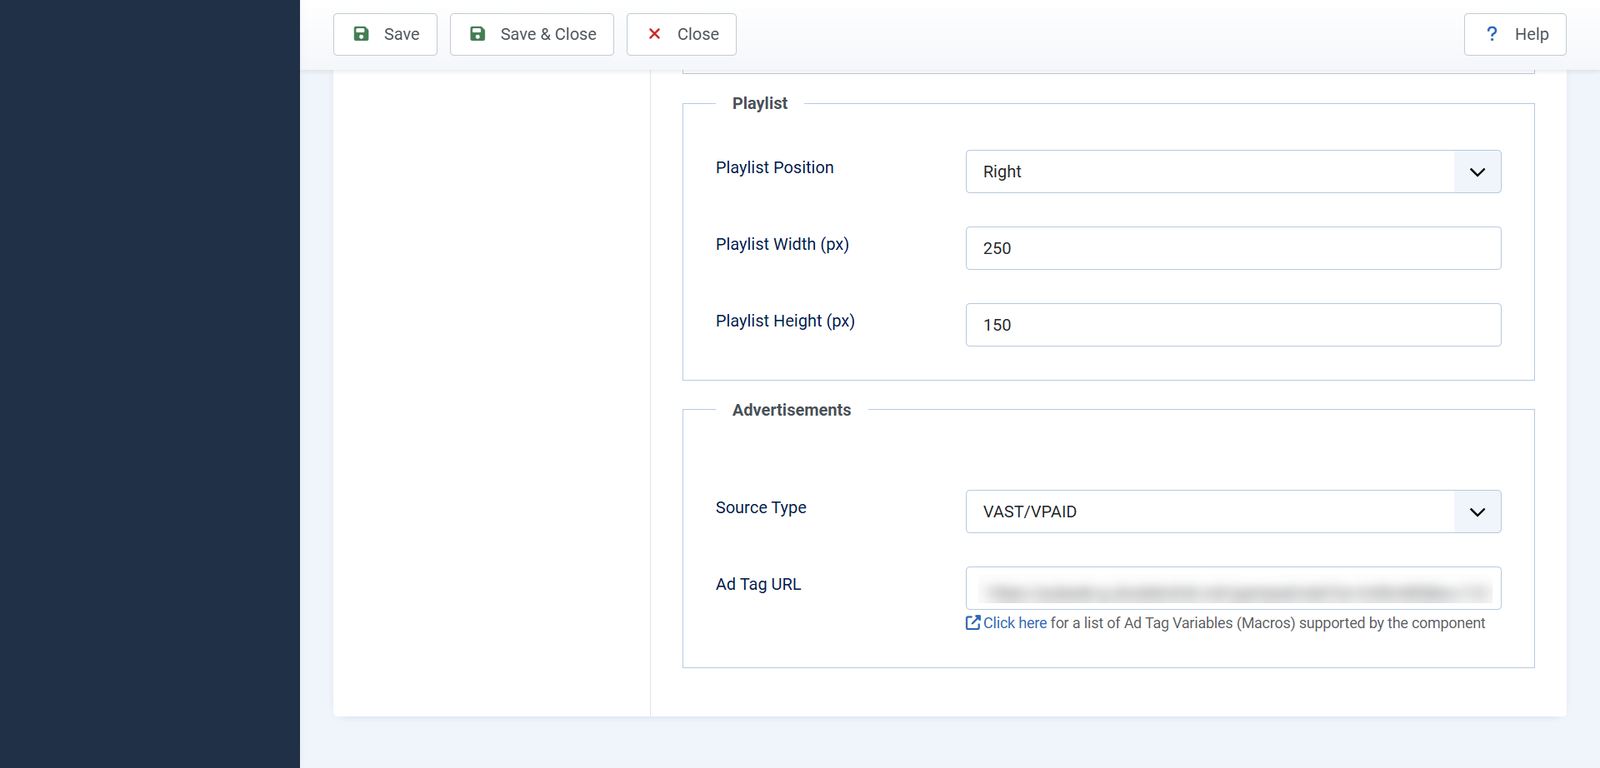
Check it worked: open a video on your site. An advertisement should play before it. Networks sometimes have nothing to serve, so try a few times before assuming it is broken.
Once it is working, you can pass details about the video and the page to your ad network by adding macros to that same Ad Tag URL. See Ad tag variables (macros).
Ad tags usually accept variables so the network knows what is being watched and where. The component supports a set of these — see Ad Tag Variables (Macros) for the full list.
With this option, the settings for timers, skip buttons and preroll or postroll placement are not used — your network controls all of that. The remaining sections of this page cover Custom Ads only.
Option 2, step 1: Switch to your own ads
1. Go to Options → Player → Advertisements.
2. Set Source Type to Custom Ads. Four more settings appear.
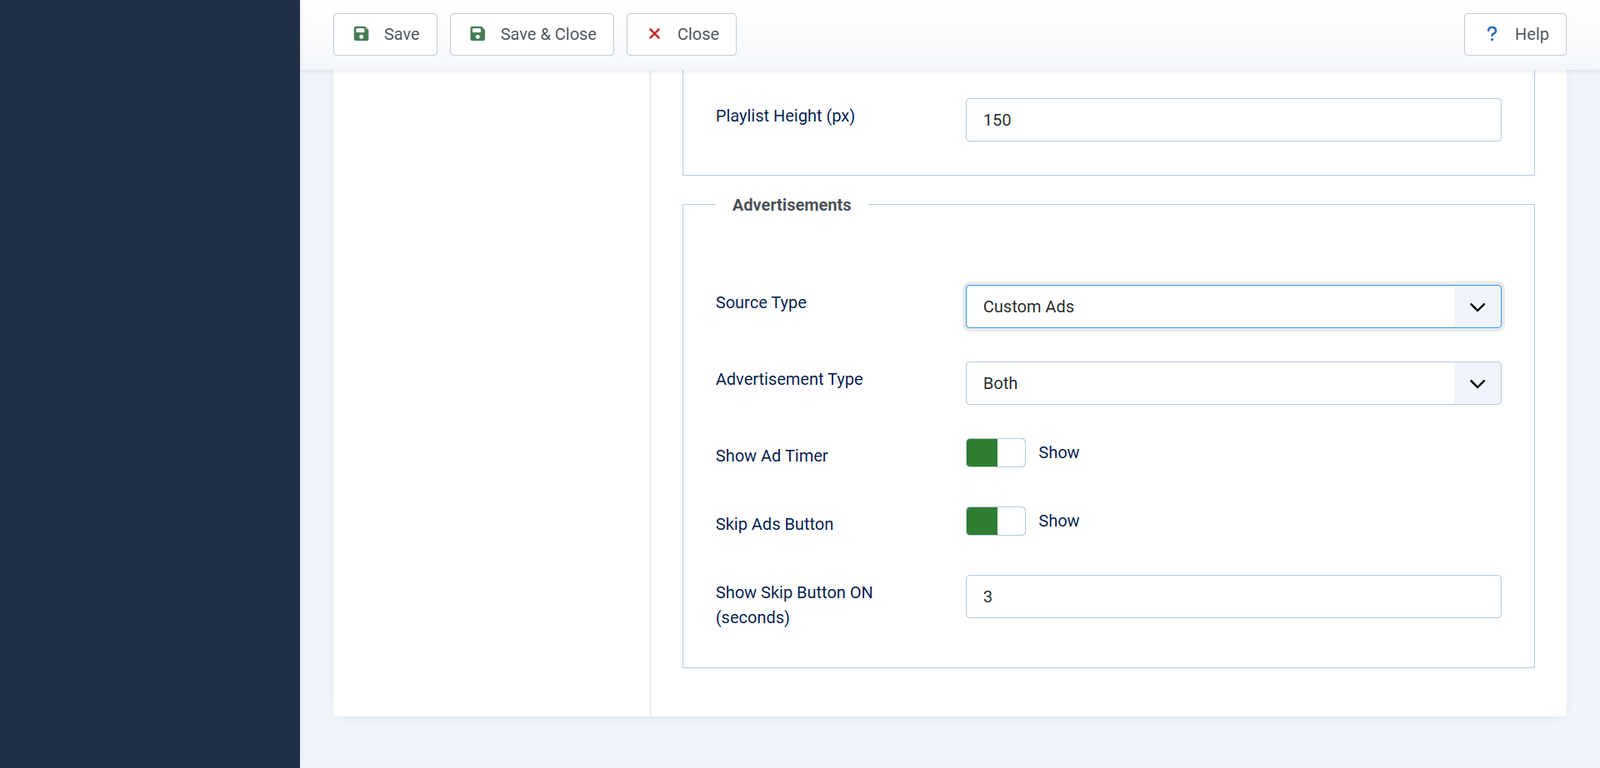
- Advertisement Type — where ads appear: — None —, Preroll Only before the video, Postroll Only after it, or Both. Default: Preroll Only.
- Show Ad Timer — a countdown telling the viewer how much of the ad is left. Default: Show.
- Skip Ads Button — lets viewers skip the ad. Default: Show.
- Show Skip Button ON (seconds) — how long before the skip button appears. Default: 3.
3. Click Save & Close.
Leave the timer and the skip button switched on. Viewers accept a short ad they can see the end of; an ad with no countdown and no way out is the fastest way to lose them. Five seconds is a common compromise if three feels too generous.
Option 2, step 2: Add an advertisement
1. Select Components → Yendif Video Share → Advertisements → New.
2. Fill in the form.
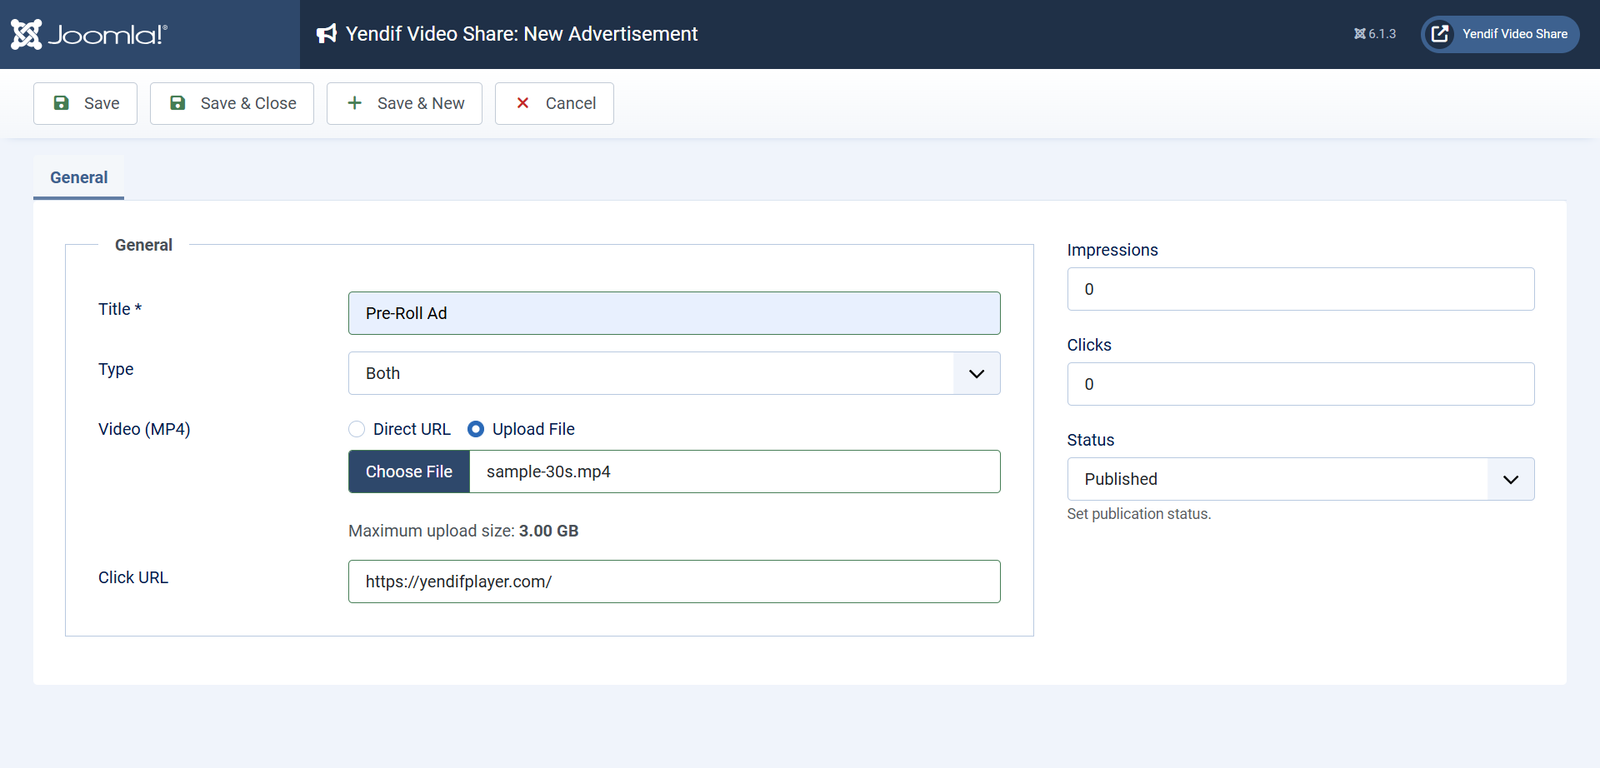
- Title — a name for your own reference. This is what you pick from when assigning an ad to a video. For example: Spring sale promo.
- Type — Preroll, Postroll or Both. This decides which slots the ad is eligible for. For example: Both.
- Video (MP4) — the ad clip. Paste a URL or switch to Upload File. For example: promo.mp4.
- Click URL — where a viewer goes if they click the ad. Leave it empty for an ad that is not clickable. For example: https://example.com/sale.
- Impressions — how many times the ad has played. Editable, so you can reset it at the start of a campaign. Starts at 0.
- Clicks — how many times it has been clicked. Also editable. Starts at 0.
- Status — only published ads are ever served. Set it to Published.
3. Click Save & Close.
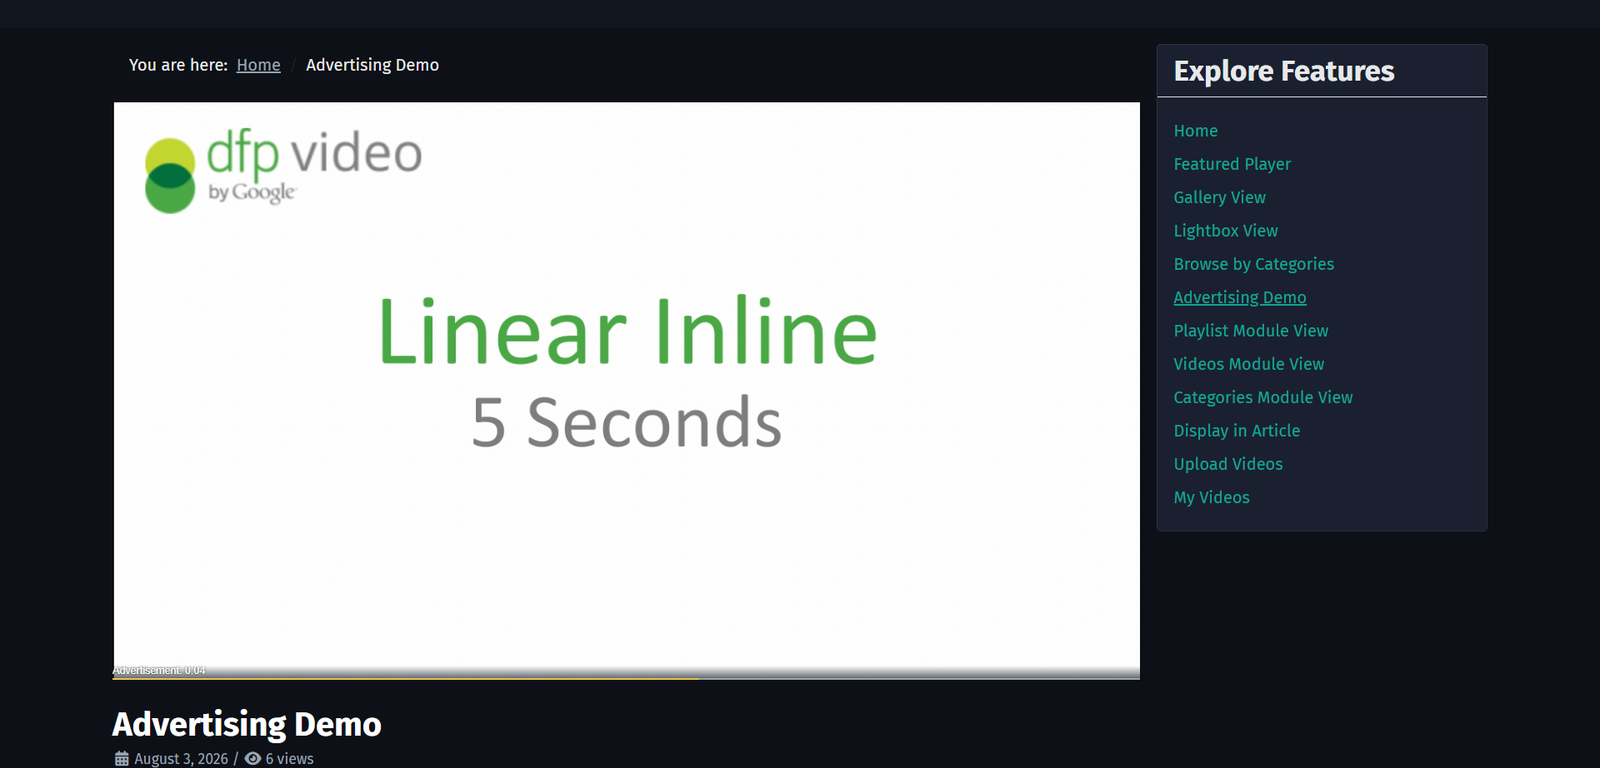
Check it worked: open a self hosted video on your site. Your ad should play before it, with the countdown and skip button you configured.
Keep ad clips short and small. A 30 second ad in front of a two minute video will lose you viewers, and a large ad file delays the start of every video on your site. Fifteen seconds and a few megabytes is plenty.
Which advertisement plays, and when
By default you do not assign ads to videos at all. Each time a video is watched, the component picks a published advertisement at random from those eligible for that slot.
- The preroll slot can use any published ad whose Type is Preroll or Both.
- The postroll slot can use any published ad whose Type is Postroll or Both.
So adding four ads and leaving everything else alone gives you a rotation across all four, spreading impressions evenly. That is usually what you want.
Pinning a specific ad to a specific video
When a sponsor has paid for one particular video, you can override the rotation.
1. Open the video under Components → Yendif Video Share → Videos.
2. Open the Advertisements tab.
3. Choose an advertisement in Preroll or Postroll, then save.
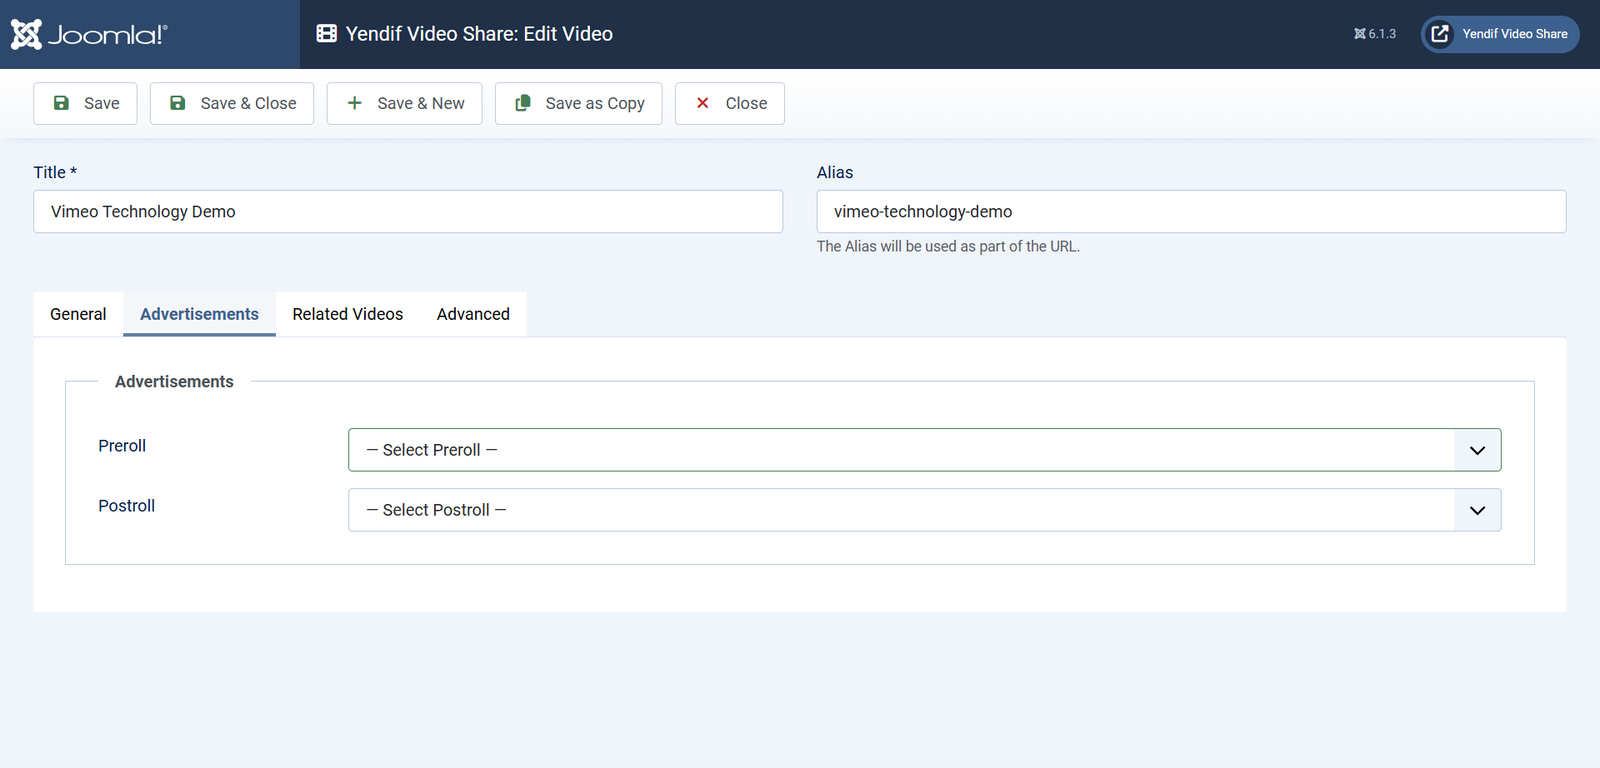
That video now always plays the ad you chose, while every other video carries on rotating.
Important: “— None —” does not switch ads off for a video.
Choosing — None — in the Preroll or Postroll field is treated the same as leaving it unset, so the video still receives a randomly chosen advertisement. It does not exempt that video.
There is no per-video off switch. With Custom Ads switched on, every eligible video carries an advertisement. If you need some videos to stay ad free, the only reliable control is the global Advertisement Type setting, which turns ads on or off for your whole site at once.
Checking how your ads are doing
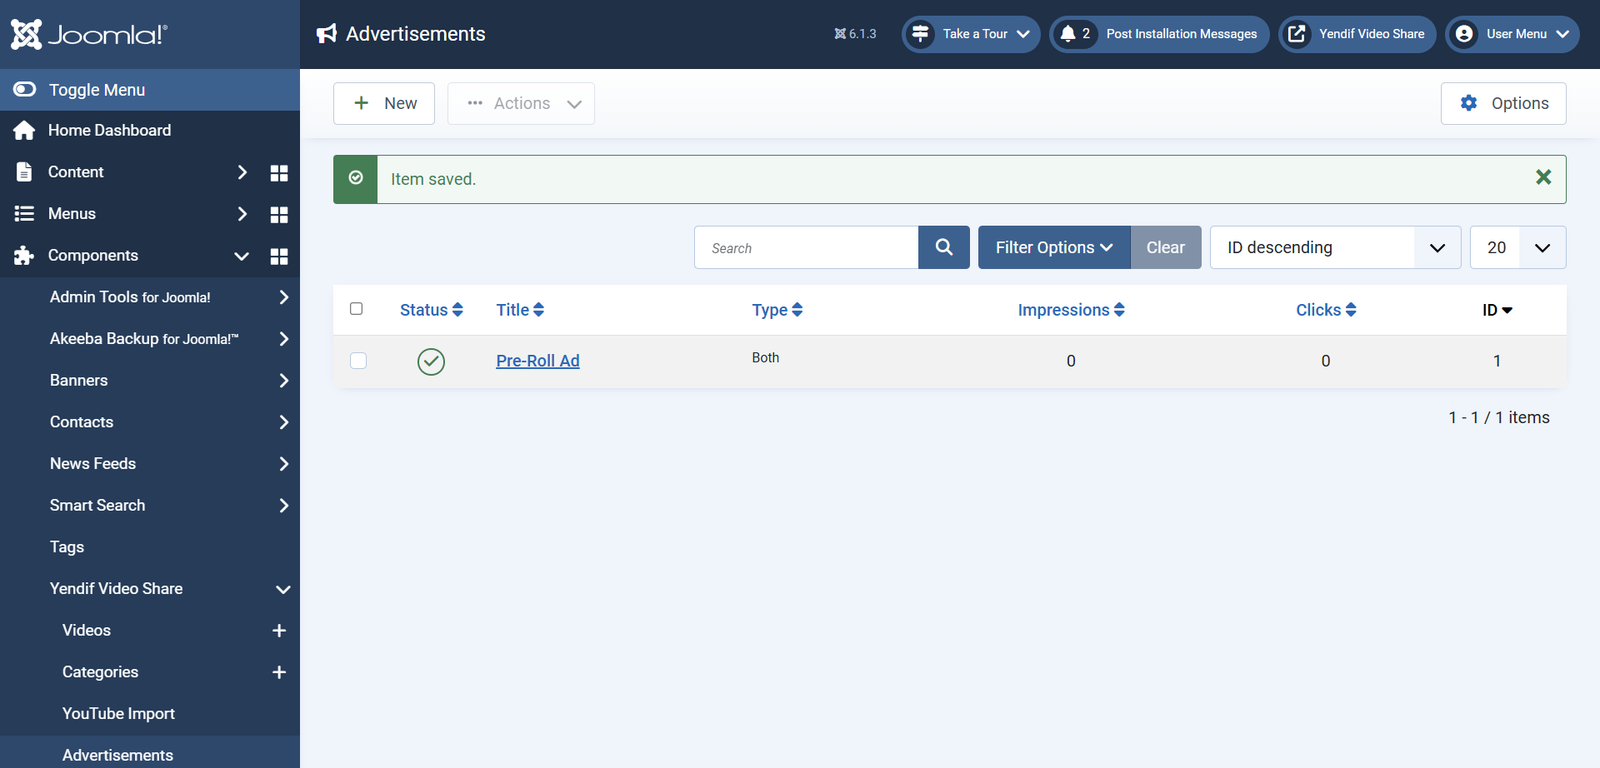
Go to Components → Yendif Video Share → Advertisements. The list shows Impressions and Clicks for every ad, and both columns are sortable.
- Impressions — how many times the ad has started playing.
- Clicks — how many times a viewer clicked through to your Click URL.
Both figures are editable on the ad itself, so you can zero them when a campaign starts. That is also how you produce a clean report for a sponsor: reset at the start of the month, screenshot at the end.
Which videos can carry advertisements
- Self Hosted / External URL — yes. This is what the advertising system is designed for.
- HLS / MPEG-DASH — yes. Works, including on live streams.
- YouTube — not recommended. YouTube serves its own advertising, and its terms of service do not allow you to insert your own around embedded videos.
- Vimeo — not recommended. The same applies.
- Iframe Embed Code — no. Playback is handled entirely by the other service’s own player, so nothing can be inserted around it.
If earning ad revenue is your aim, host the videos yourself. That is the only arrangement where the advertising is genuinely yours to sell — and it is also the reason many site owners move their library off YouTube in the first place.
If something goes wrong
- An upgrade message instead of the settings. Advertising is a premium feature. Add your license key under Options → Licensing.
- No ads play at all. Advertisement Type is set to — None —, or no published ad matches the slot. Check the setting, then check you have a published ad whose Type covers that slot.
- No ads on a YouTube or Vimeo video. Expected — those services control their own playback. Use self hosted videos for advertising.
- Nothing on an Iframe Embed Code video. Ads cannot be inserted into another service’s player. Add the video as a self hosted or YouTube source instead.
- The skip button never appears. Skip Ads Button is hidden, or the delay is longer than the ad. Set it to Show, and check Show Skip Button ON is shorter than your clip.
- A video you excluded still shows an ad. — None — does not exempt a video, as explained above. Turn Custom Ads off globally, or accept ads on all eligible videos.
- Impressions rise but clicks stay at zero. The ad has no Click URL, so it is not clickable. Add one to the advertisement.
- The ad plays but videos start slowly. The ad file is too large. Compress the clip and aim for a few megabytes.
- Ads work locally but not on the live site. An ad blocker, or an HTTP ad file on an HTTPS site. Test in a private window with extensions off, and serve the ad file over HTTPS.
What to try next
- Ad tag variables (macros)
To send the video title, page and viewer details to your ad server. - Restrict videos to registered members
To charge for access instead of running ads. - Set up your first video gallery
To host your videos yourself, so the ad revenue is yours. - Settings reference
To see how many people are watching. - Set up the player how you want it
To add a watermark or right-click notice to your player.